Girl in Stitches
Being the occasional and rambling account of one young lady's adventures with fabric and a soldering iron
Jeanzzz
Waheeeey. This has taken so long, mainly because I have procrastinated and accidentally put holes in the fabric. But it’s done.
I can now claim to know the process behind making jeans, and it actually shouldn’t be a very long process.

I artfully stand upon a chair to get a classically inspired mirror shot rather than asking someone to take a photo.

Am I 100% happy with them? Nope. No. No I am not.
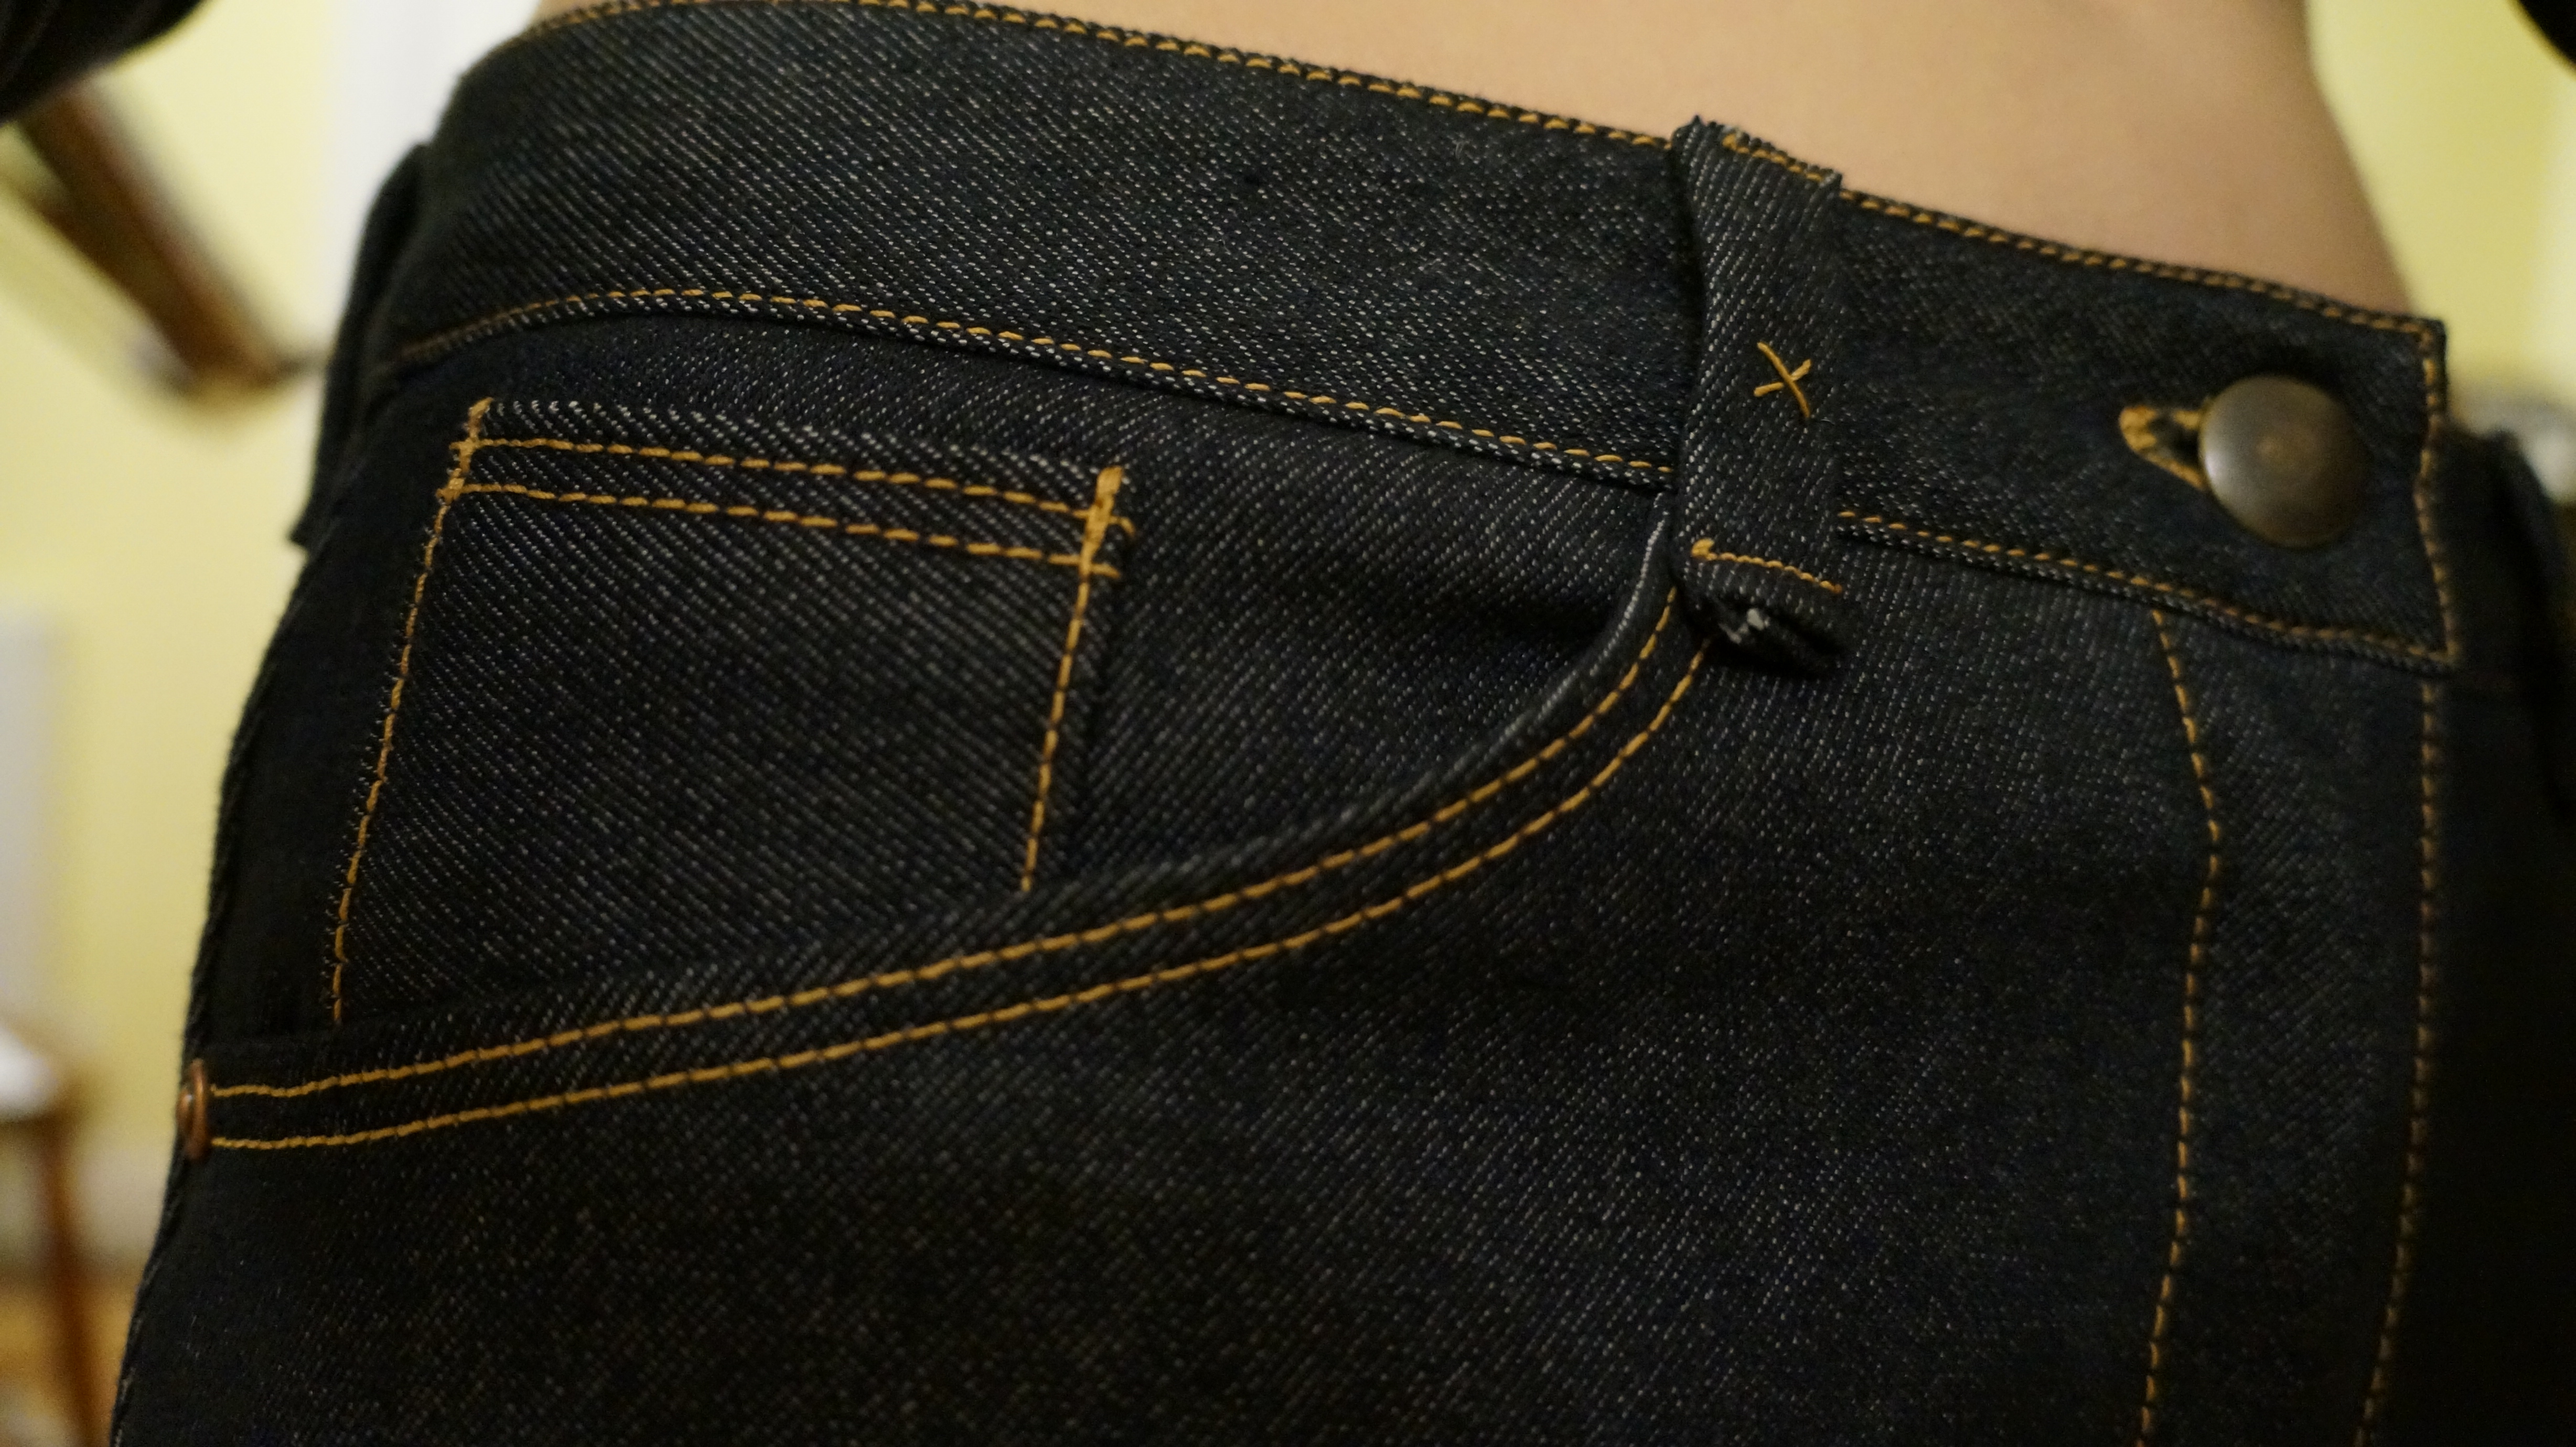
- The waistband is not quite right (I made a slight miscalculation when I made the pattern, which I hadn’t actually finished when I printed it out and used it…)
- The fit generally. It’s okay. Not great.
- The yoke is less-than-ideal because I forgot I hadn’t finished the pattern (didn’t get to the yoke. Wish I’d remembered this before.)
- There’s no topstitching on the inner leg
- Did the belt loops, like, three times each and unpicked them. Machine kept jamming. I hate the belt loops.
- I had to buy two sets of rivets. The first ones were cheap from ebay and put holes in the fabric before falling out. The second set were Prym rivets – much pricier but they went in a treat.
Shame I used my really nice silk organza to interface the waistband, but I couldn’t find my normal favourite interfacing. I realise as I write this that there’s a general air of chaos and disorganisation coming across.
Having said all of that, I am really pleased with them. They were super quick to make too, I used my overlocker for most of the seams to join and finish at the same time, so the actual trouser-shaped things were formed in maybe fifteen minutes or so. I probably will make more, so here is my list of what to do in what order, for next time:
- set up your overlocker, one sewing machine with topstitch thread and denim needle, one additional sewing machine with regular dark thread
- stitch yoke panels to back legs
- topstitch the above
- stitch tiny front pocket onto front right hip pocket, stitch on lining, stitch lining to front leg pocket opening, pin in place, repeat with left hip pocket (sans tiny pocket)
- topstitch pocket edges.
- stitch inner seams of each leg, fronts to backs.
- topstitch the above
- sew right leg to left leg at centre, and sew the sides closed too (I think I joined the two legs right-to-left rather than front-to-back…)
- topstitch! At sides (~4 inches) and back to bottom of fly.
- fly zip. There are loads of great tutorials online. I’ve already forgotten how to do it.
- waistband: sew together, join to legs, topstitch
- buttonhole, button.
- belt loops. Don’t cry.
- seat pockets, put something more fun on them next time.
- hem
- rivets
- look back and work out what you forgot.
6 comments on “Jeanzzz”
Leave a reply to Smitha Easter Cancel reply
Recent Comments
| maryinstitches on Jeanzzz | |
| atkokosplace on Jeanzzz | |
| maryinstitches on Jeanzzz | |
| maryinstitches on Jeanzzz | |
| Smitha Easter on Jeanzzz |
Recent Comments
| maryinstitches on Jeanzzz | |
| atkokosplace on Jeanzzz | |
| maryinstitches on Jeanzzz | |
| maryinstitches on Jeanzzz | |
| Smitha Easter on Jeanzzz |

These look great! Did you make the pattern yourself?
LikeLike
Thank you! Yeah I made the pattern from a combination of an existing pair of jeans and my measurements.
LikeLiked by 1 person
WOW! Great job. I esp love the details on the back pockets, the large stitch looks amazing! 🙂
LikeLike
Thanks!
LikeLike
I love the jeans! Wow. You do such beautiful work! Stunning in fact! Happy Fall. Koko❀
LikeLike
Thank you!
LikeLiked by 1 person